VPN Installation Guide: Chromebook (2 Steps)
Step 1: Download Ivanti Secure Access Client
Requires Chrome OS 103 or higher. — What version of Chrome do I have?
Get Ivanti Secure Access Client from Google Play Store
Step 2: Configure Ivanti Secure Access to Connect to the Library VPN
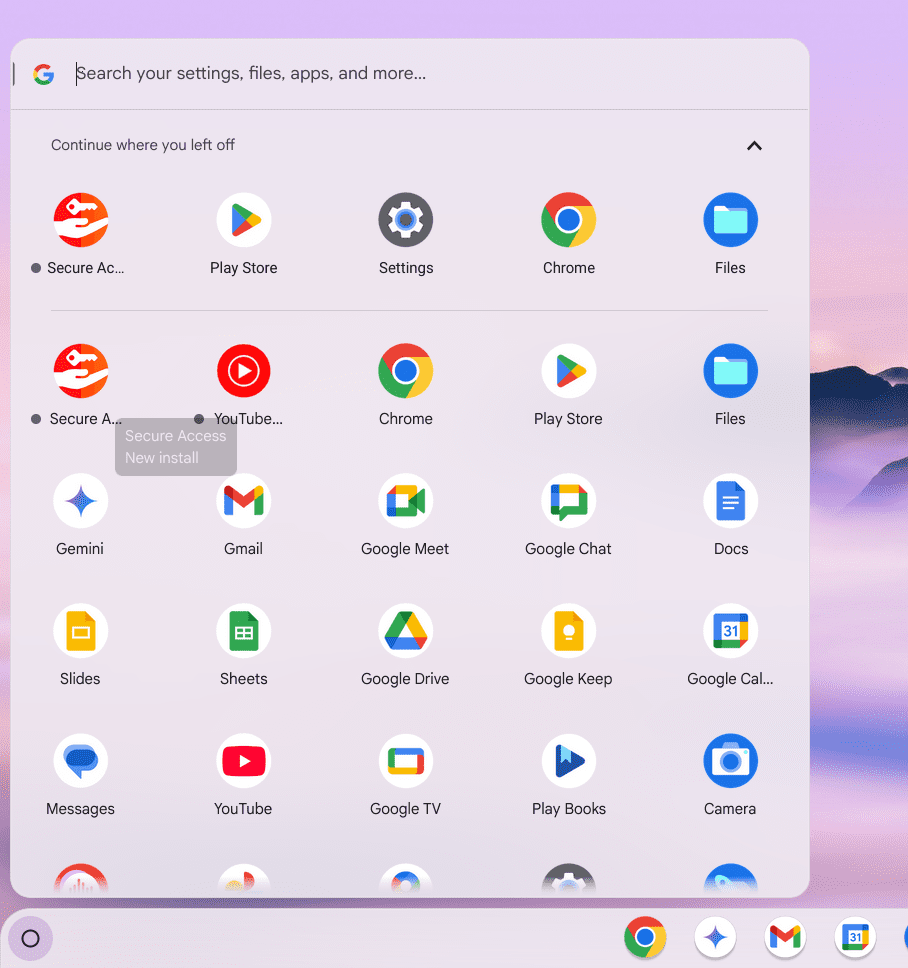
- After installing Ivanti Secure Access from the play store, select the status area located on the far right side of your Chromebook shelf.
- Select the Ivanti Secure Access app to launch it.
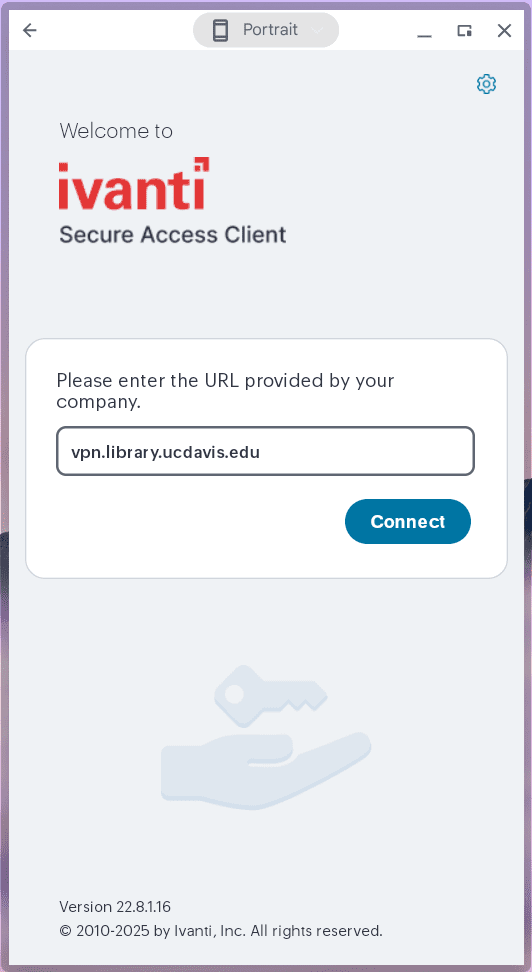
- Enter “vpn.library.ucdavis.edu” as the URL and select Connect.

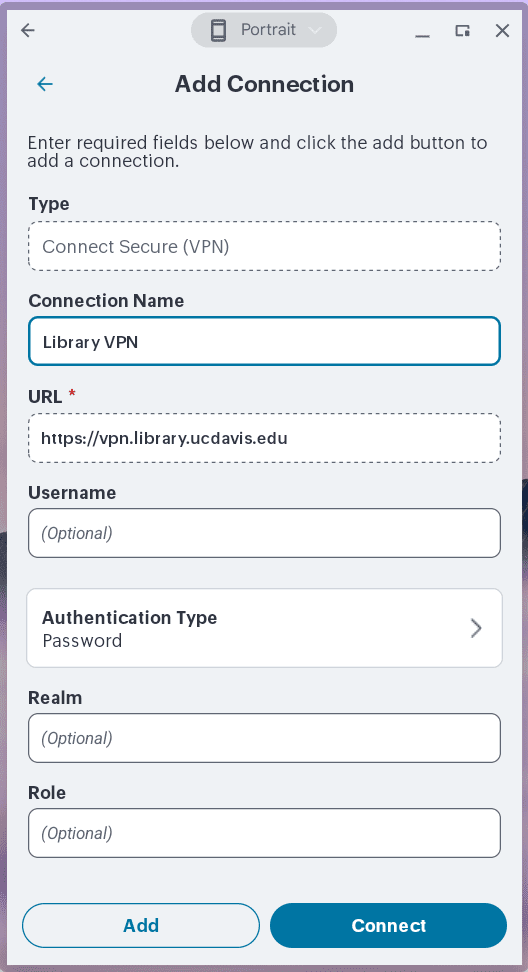
- Enter the following connection name then select Add.
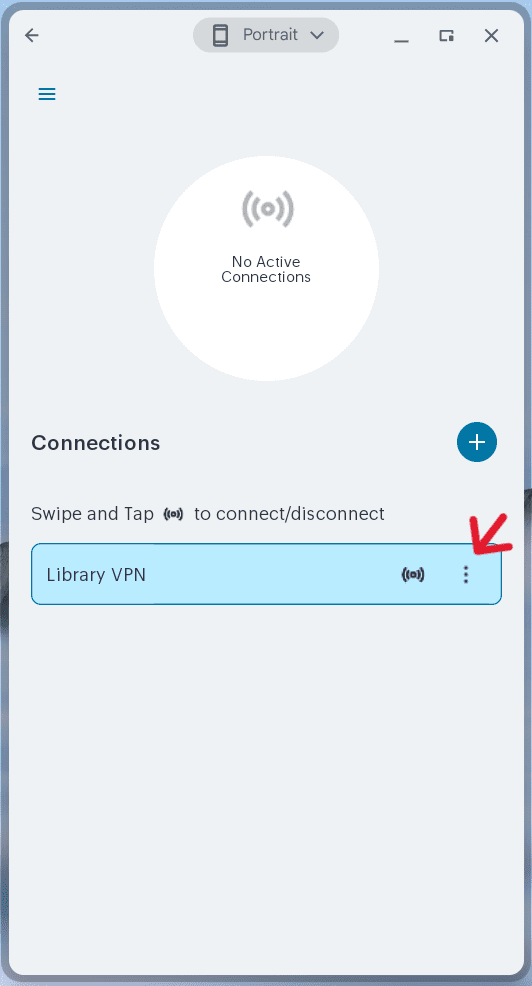
Connection Name: Library VPN (or another name of your choosing) - Select the triple dot menu icon and select Connect.
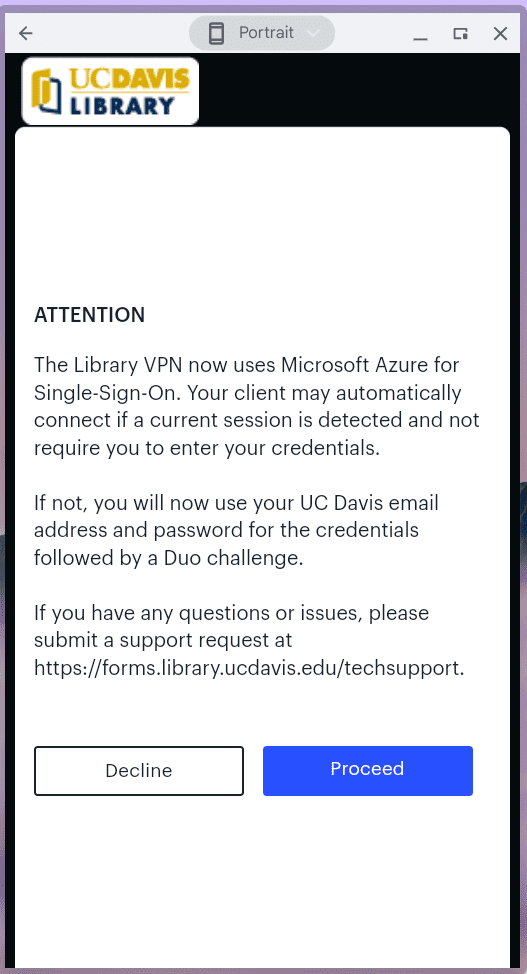
- After reading the notice, select Proceed.
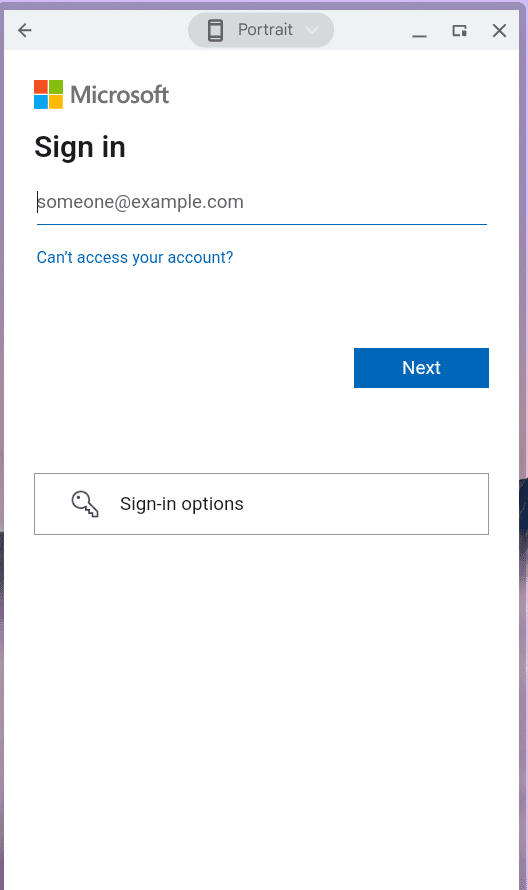
- Enter your UC Davis email address and select Next.
- Enter your UC Davis email address and password, then select Sign in. Note: UCDH users that have an @health.ucdavis.edu email account MUST use their @ucdavis.edu email address for Library VPN authentication. The @health.ucdavis.edu address will not work.
- A Duo challenge will come up, answer the challenge using your preferred method, such as push or entering a code.
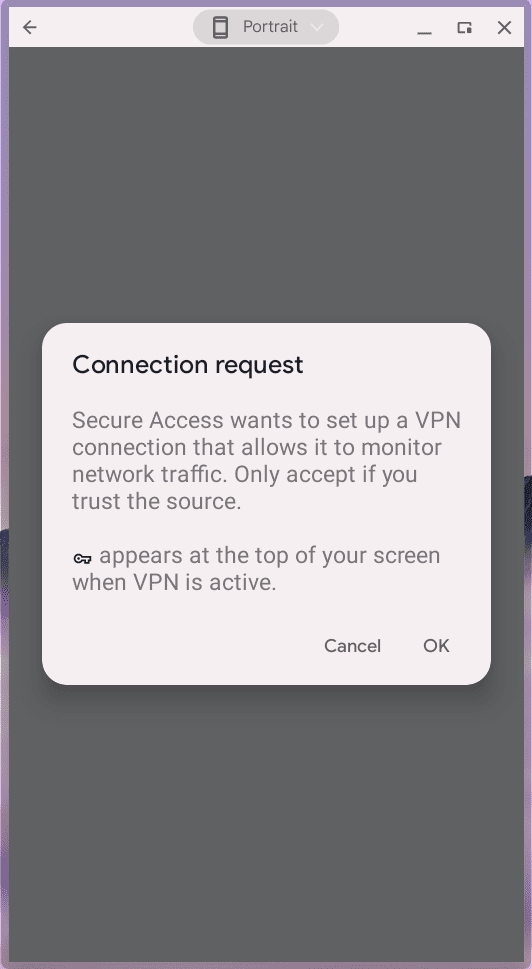
- If the following message comes up, select OK.
- The Ivanti Secure Access client will then show as connected.

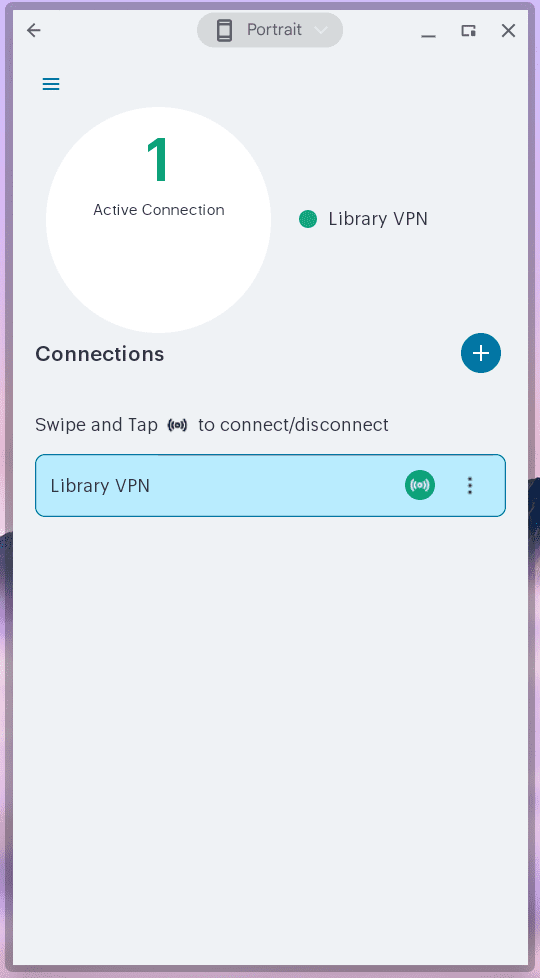
Congratulations, you are now connected to the library VPN and have access to all of the library’s online resources!